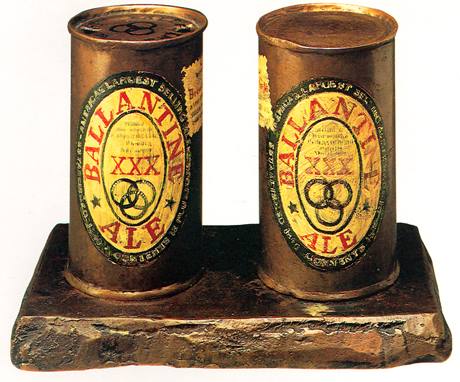
Above: Jasper Jons, Painted Bronze , 1960
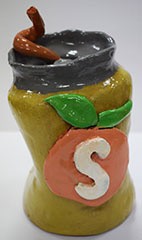
In Year eight we have been working around the concept of ́cans ́ and we completed various tasks related to cans in both class time and for homework. Out of the many things we did, I ́d like to tell you about our project on making clay cans.
Firstly, we rolled out the clay with a rolling pin, being careful that the clay had the same thickness all the way through.
Secondly, we cut out one rectangle and two circles with the help of a paper template. Then we wrapped the rectangle around a cardboard tube to create a cylinder. We attached on one of the circles as the bottom part of the can using cross hatch and slip. Next, we cut out a small hole in the second circular clay to create a lid and attached it on using the tricks mentioned above.
When all of that was done, we had to start forming our cans. We could scrunch up the cans if we wanted to to make them look crushed. We added logos and extra pieces of clay to make it look like a real can.
After that we had to let it dry out completely before putting it in to the kiln to fire the clay.
When the can was taken out of the kiln, we coloured it with glaze, a special paint that becomes shiny when it goes in the kiln. We had to take a risk when we were painting as our teachers told us that the final colour of the can would change after it had been fired a second time in the kiln.
We painted on several layers of glaze to ensure that the can was completely covered. Lastly, the cans were put into the kiln once more, then….ta-da! Our cans were finished.
I personally enjoyed it a lot because it was fun to create our own design of a can. It was very satisfying to crunch up our cans and it all turned out really cool in the end!
Written by Suhhyun Lim, Year 8.